
Sweet taro paste is a versatile ingredient that can be used to make delicious beverages and desserts. The vegan, gluten free paste is very easy to make and can be stored long term for quick use.

It was on a family trip to Taiwan that I was introduced to the many delicious ways to use and cook taro root. I came home knowing that I wanted to be able to recreate some of the recipes and flavors we experienced.
One of the ways it was used most often was as taro paste. It’s essential in many desserts and beverages, and as I soon discovered, is also very easy to make at home.
Making the simple homemade paste has become key in being able to prepare some of my favorite recipes, and I think you’ll love how versatile it can be for you too.
What to do with Taro Paste?
Before we get into how to make it, I want to share a little bit about the many taro root recipes that utilize the paste. It’s a great way to infuse the natural nutty, sweet flavors into things like baked goods, sweet drinks, and much more.

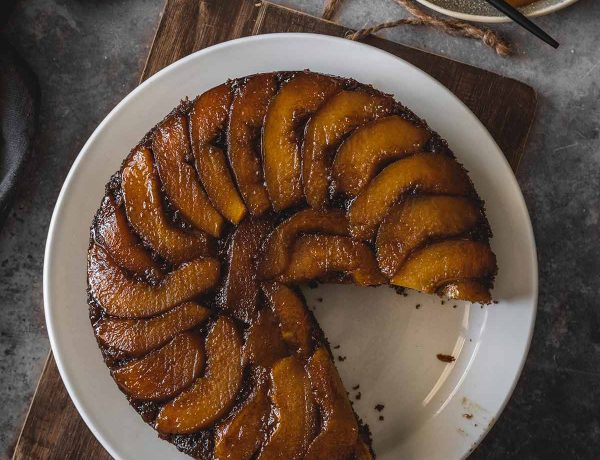
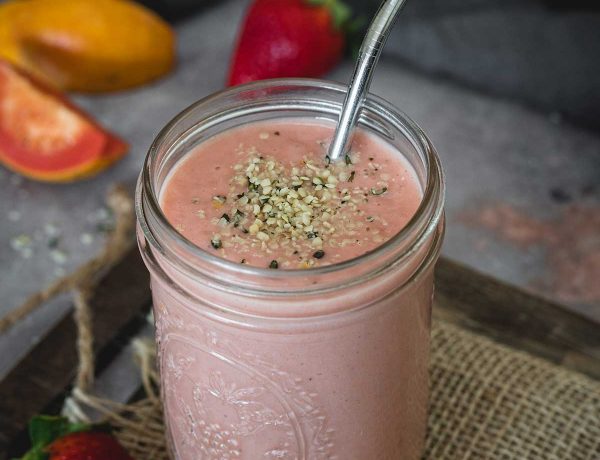
One of my favorite ways to use it is to make homemade, fresh taro milk tea, but it’s also great for unique milkshakes and filling pastries like moon pies or steamed buns. Taro paste also makes a great filling for mochi – a traditional Japanese delicacy. It can even be mixed with sugar and cream to make a frosting for cakes and cupcakes!

Some people even enjoy eating just as it is. The almost custard-like texture and sweet flavor are great when topped with ice cream or whipped cream and eaten with a spoon.
Ingredients
This is a naturally gluten-free and vegan recipe. There are only 4 easy ingredients you need to make a batch of paste that you can use and store long term.
- Taro root – I use fresh taro, but frozen, mashed taro is also available at some Asian markets.
- Coconut oil – Vegan butter can also be used.
- Sugar – Use white sugar for this. Some recipes contain more than others, I like mine sweet which reduces the need to sweeten what I use it in later.
- Coconut milk – This is key for the creamy, smooth texture.
Instructions
There are a variety of methods used for making taro paste, but I prefer the simplicity of my approach. It takes just a pot of boiling water and a food processor or blender to get it into the final, creamy paste stage.
To start you’ll need to peel the taro root. It contains a compound that will irritate your skin, so I recommend wearing gloves or coating your hands with vinegar or oil to prevent that.
Cut off one end to create a flat stable surface, then use a vegetable peeler or knife to remove all of the skin. Cut it in half, then slice into pieces.

Add those to a saucepan and cover with water. Place it on the stove and bring it to a boil, then reduce it to a simmer for about 20 minutes, or until the taro is very tender.
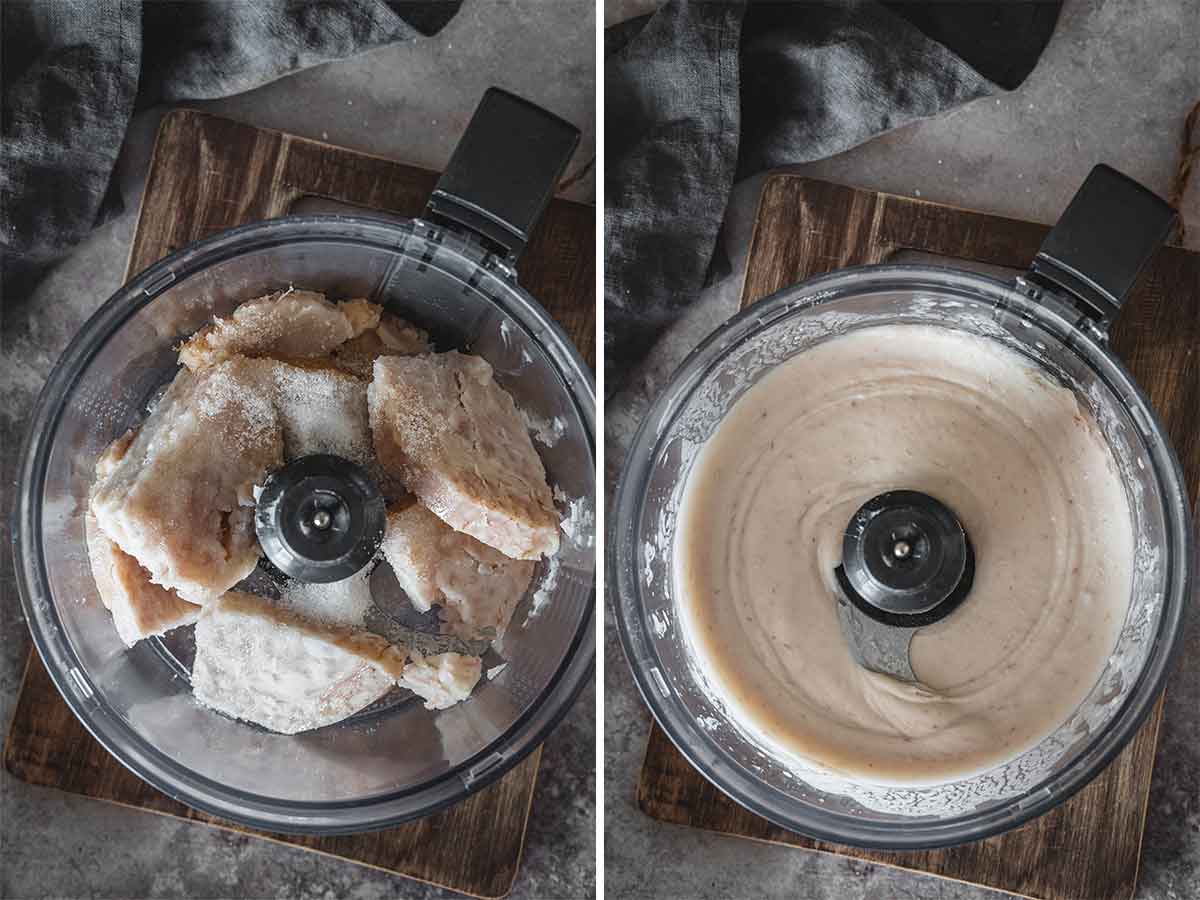
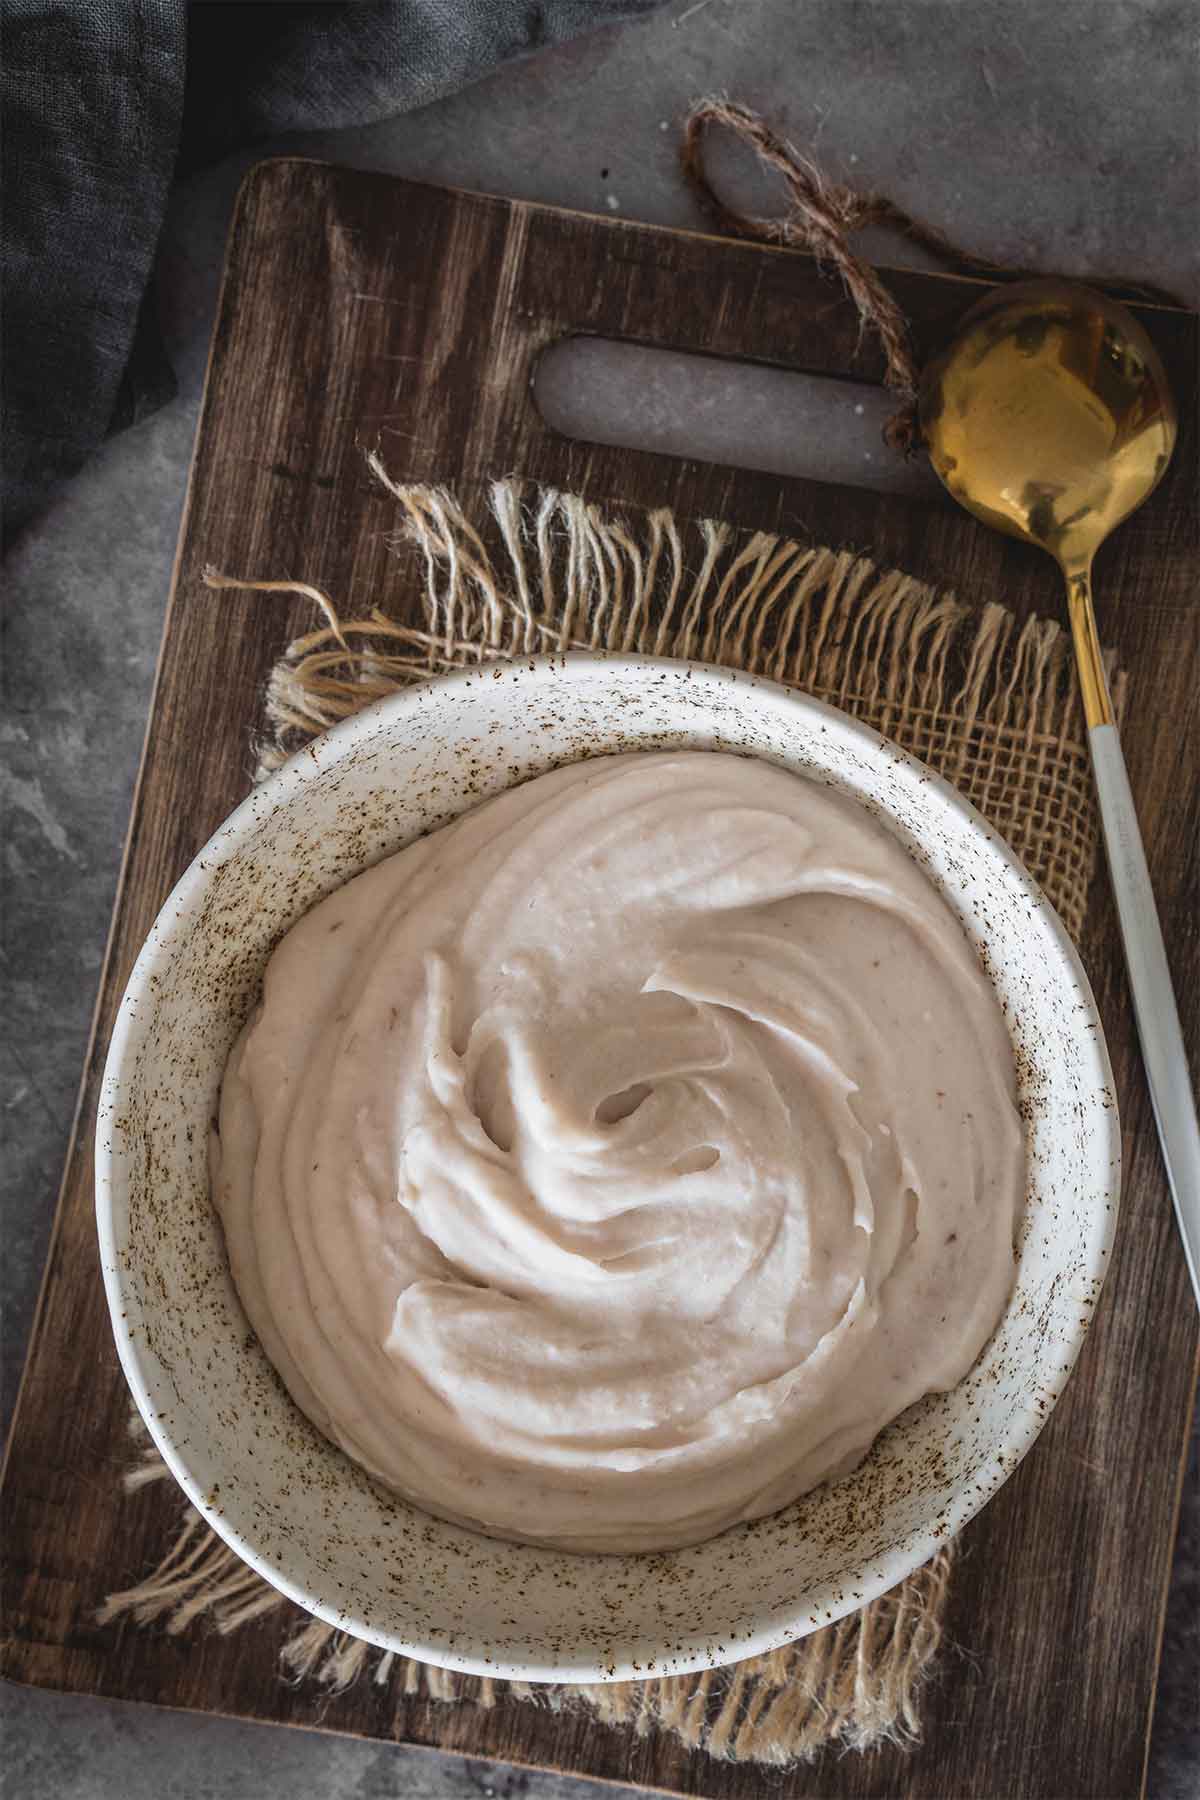
Drain the pot and add the cooked chunks into a blender with the remaining ingredients. Then simply blend until very smooth paste forms. Once it cools it’s ready to use or store.
Storage
A major benefit to making a large batch of taro paste is how easily it can be stored. Once it’s cooled, you can transfer it to an airtight container in the fridge and use it as needed for 2 weeks.
But it can also be kept in the freezer for up to 6 months. Use an ice cube tray to portion the paste then place it into the freezer. Then pop the solid cubes out into a freezer-safe bag or container.
You can use them really easily straight from frozen. I just add them directly into a blender with my other taro milk tea ingredients for a quick, cold beverage. They can also be thawed overnight in the fridge.
It really is so easy to make and a great way to infuse the natural flavor into things quickly. I love my savory recipes like taro fries and taro soup, but there’s definitely something irresistible about the sweets made with the paste like mochi, milk tea, and stuffed pastries. I hope you find the paste as easy and tasty as we do, and have fun using it in new and exciting recipes.

Homemade Taro Paste (How to Make and Use it)
Ingredients
- 1 lb. (450g) taro root
- 1 1/2 tablespoons coconut oil
- 3 tablespoons (40g) sugar
- 1/3 cup coconut milk
Instructions
- Trim the ends of the taro root and peel it. You can use a vegetable peeler or cut off the skin with a knife. Use disposable gloves when peeling or coat hands with cooking oil or vinegar to avoid irritation.
- Cut in half lengthwise and then into slices. Place into a large pot and cover with water. Bring to a boil, and cook on low-medium heat for about 20 minutes, until taro is fork-tender.
- Drain and transfer cooked taro to a food processor. Add the coconut oil, sugar, and coconut milk. Process until smooth. Let cool and store in an airtight container for up to 2 weeks in a fridge. You can also freeze it by adding the paste into an ice cube tray and freezing.

5 Comments
Toni
September 27, 2022 at 1:01 pmI love using taro paste to my dishes!! Thanks for this!
Claire
September 27, 2022 at 1:26 pmFirst time making this and it was really straightforward. I’ve used some with frosting on cakes which was delicious. The rest I’ve put in the freezer so I’ve got some ready to go. Will try a milkshake next!
Gina Abernathy
September 27, 2022 at 1:43 pmThanks for the step by step process for making taro paste. I didn’t know it was so easy to make at home.
Katherine
September 27, 2022 at 1:57 pmOooh how exciting. Thanks for sharing how to make taro paste from scratch!
Jay
January 29, 2024 at 3:49 amDelicious in boba and sweet taro buns. Thank you!